The Moulage to create ready-made silicone prosthetics that reduce preparation time and maximize scenic makeup results.
In a previous issue we talked about the exercise that took place in Sardinia under the name “Bentu Estu 2021”, where Moulage was the theme that allowed us not only to consolidate collaboration with the army, but also to have with us, in the advanced course de Moulage, Chief Marshal Andrea Brandolini: with them we hope to work much more together to exchange experiences and knowledge!
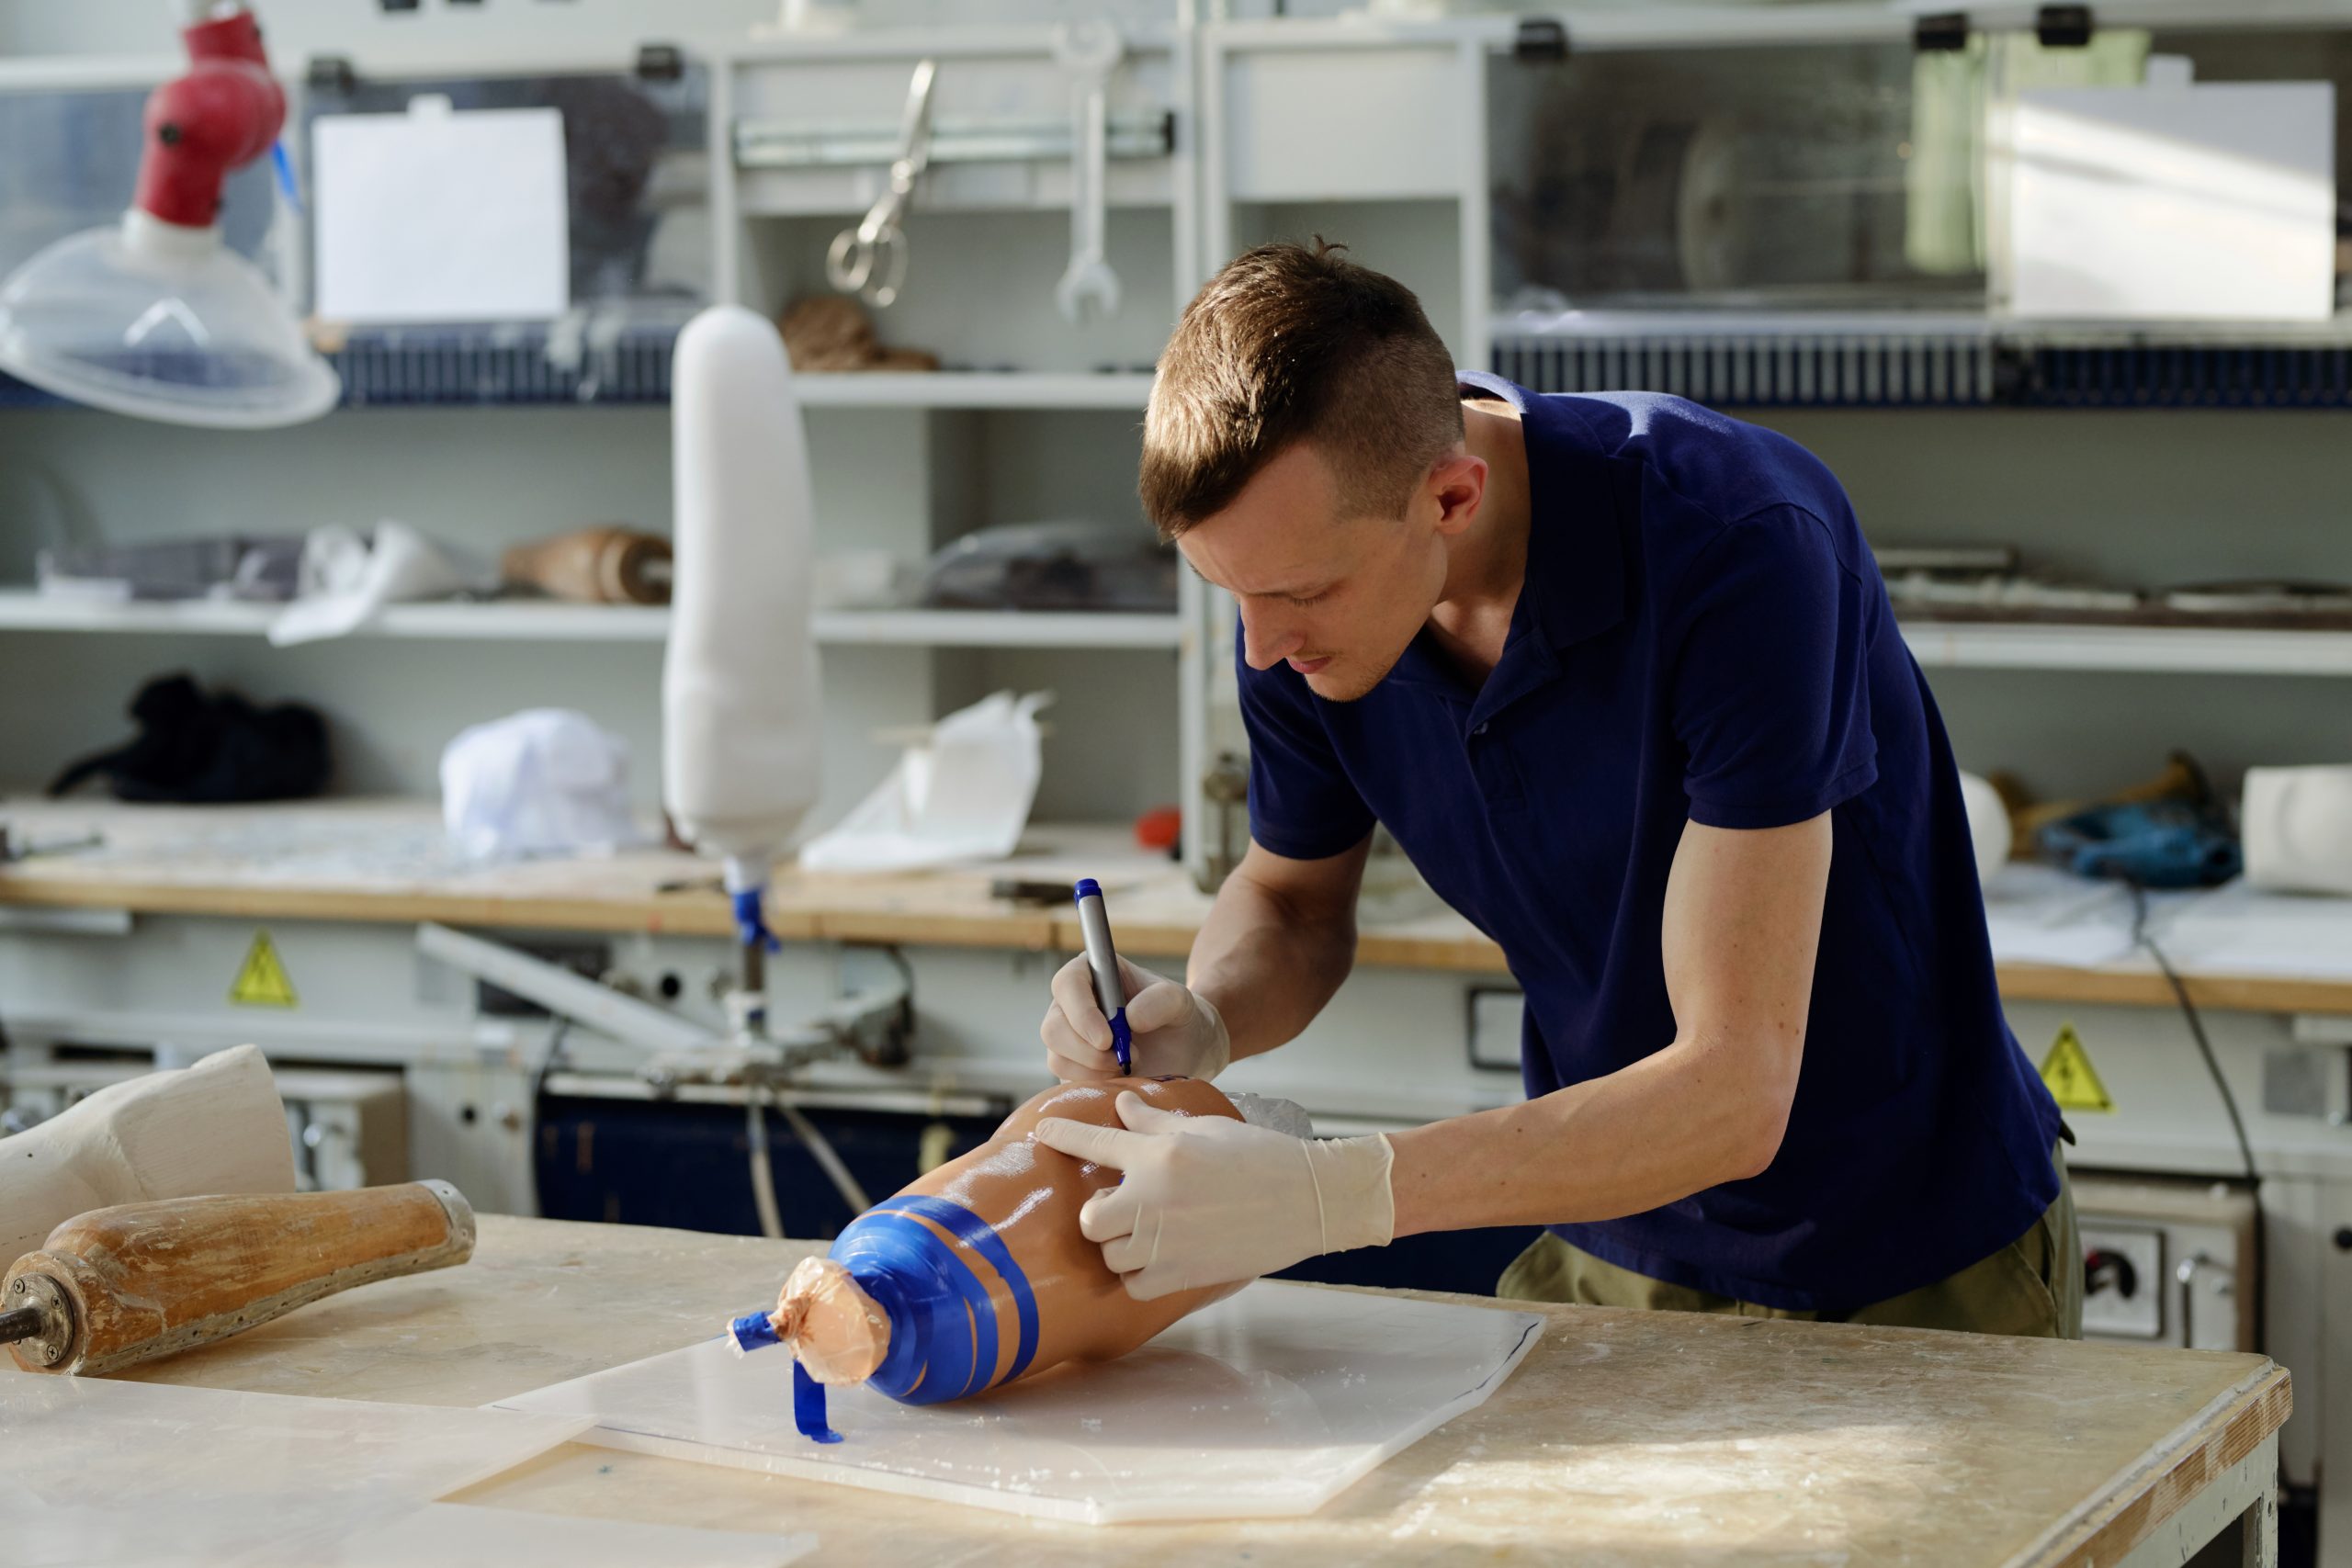
Nor could Alessia Bolamperti and Rosaria Lea (SIMNOVA) miss our course, who will also give their contribution in this issue with the creation of stage make-up effects, the result of the commitment and passion that, as always, they show in making more and more realistic simulation scenarios.“The realization of the silicone prostheses (figs. 1-2-.3-4-5) – Rosaria and Alessia tell us – allowed us to reduce the time of performing the moulage during the alternation of the simulation sessions, and to repeat the same session several times, even in different simulators, with minimal adjustments to visual effects. This strategy also means that the human resources employed can be reduced. For better rendering and accuracy, moulage requires to know in time the situations that you want to recreate, the effects that you want to obtain, the locations on which you want to apply it, also in terms of material, since in some simulators the use of special adhesives is necessary.”


The optimization of resources is, therefore, one of the objectives set by those involved in the simulation. Simannu’s team works a lot at home, but they often go on trips, taking with them, as you have already seen, not only Bobore (Hal), who already takes up a lot of space, but also clothing, material, tools and everything they need to create sets and stage makeup.
In addition to the amount of materials to be transported, we often have to deal with logistics that do not always allow us to work as we would like or have all the time necessary to carry out, for example, adequate moulage between one stage and another. Also from this arises the need to bring with us as many ready-to-use things as possible, such as ready-made silicone implants, which allow us to significantly reduce preparation times and maximize the scenic results of makeup.
In the make-up removal videomade in Bobore for “Bentu Estu” linked to our SIMZINE #3, we had already shown you… what is hidden underneath… (photos 6-7-8-9), but now, as we promised, we will tell you how, at low cost, these prostheses can be made “at home”.


This is what you need:
- Wood support with laminate surface
- Modeling clay / plasticine
- Brushes and spatulas for modeling
- Release agent (silicone spray)
- Resin to create the support.
- Platinum silicone
- Talcum powder
- Denture glue
Realizationand description:
- Get a laminated wood support and start modeling the plasticine on it: it is better to use the one that does not have sulfur to avoid unwanted reactions with silicones.
- With the help of spatulas and brushes, recreate the wounds/prostheses on the surface (fig. 10): remember that the thickness that you will give to the plasticine is the same that you will give to the wound/prosthesis, therefore, the finer the edge, the easier it will be to hide the prosthesis with the skin of the actor or simulator. To smooth the surface you can help yourself with a brush soaked in water or essence of limonene or turpentine.
Always with spatulas and brushes you can create textures on the surface to reproduce the skin tissue.
- With the same plasticine, create a small step around the wound/prosthesis (the intermediate space is called the flash zone) which will later allow very fine wound edges to be obtained.
- Then to delimit the plaster (Fig 11), always with plasticine, it is necessary to create a well around the wound.
- At this point we are ready to create the mold: in our case we opted for a resin that solidifies at room temperature in just 20 minutes. In Fig. 11 shows the hardening phase: the transparent resin becomes perfectly white (fig. 12). Once this mold is made, you can use it as many times as you want.
- Now everything is ready to pour the silicone casting into the mold (fig.13): it is better to use “platinum” silicone, especially if the prostheses will be used on simulated patients. This type of silicone is also suitable for food molds and can be used in contact with the skin, it requires special attention because it interferes with some substances, preventing them from solidifying, including some types of rubber, latex, and tin, as we said before. ., the sulfur present in some plasticines.
- Once the silicone has solidified before removing the prosthesis, pour the talcum powder over the entire surface. Also sprinkle the talc inside the prosthesis as it is removed from the support (Fig. 14).
- At this point the wound has been made (Fig. 15) and it is possible to use it with prosthesis glue by gluing it to the simulated patient or to the simulator.
N.B: In addition to supports, silicone wounds can also be reused multiple times. Once the simulation is finished, they should be washed with soap and water, carefully dried and dusted with talcum powder before being stored.
A makeup trick:
Don’t you have plasticine available for sculptures? No problem: you can use the DiDò, the same one used by children!
Don’t have resin to create the supports? Also use ordinary plaster, but carefully: before casting the silicone, use a release agent (silicone spray, but also an ordinary hand cream without aloe or Vaseline), to spread very well with a brush over the entire surface.
Don’t you have platinum silicone? Use liquid latex. If your supplier does not send it to you on time, go to any store that sells mountain bikes and ask for the tubeless sealant…!!
See you next time
READ ALSO


